You can use Azure Microsoft account to render your Blender 3D files.
First you need a Azure account.
Download the Blender addon for azure from
here.
Unzip the addon and copy the content of Blender.Client into addon folder.
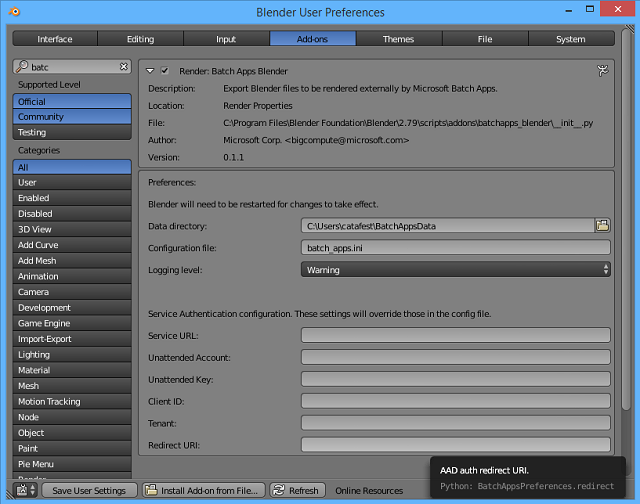
I try to use the install option from Blender 3D -
User Preferences but not working.
You need to use
pip3 tool with python from Blender 3D.
Download the pip3 tool from
here into python Blender 3D folder and run this commands:
C:\Program Files\Blender Foundation\Blender\2.79\python\bin>python.exe get-pip.py
...
Successfully installed pip-10.0.1 setuptools-40.0.0 wheel-0.31.1

C:\Program Files\Blender Foundation\Blender\2.79\python\bin>cd ..
C:\Program Files\Blender Foundation\Blender\2.79\python>cd Scripts
C:\Program Files\Blender Foundation\Blender\2.79\python\Scripts>
pip3.exe install credentials
pip3.exe install azure-batch-apps
This will install the python modules for the Blender addon for Azure Microsoft.
Login with your Azure account and create your batch service:


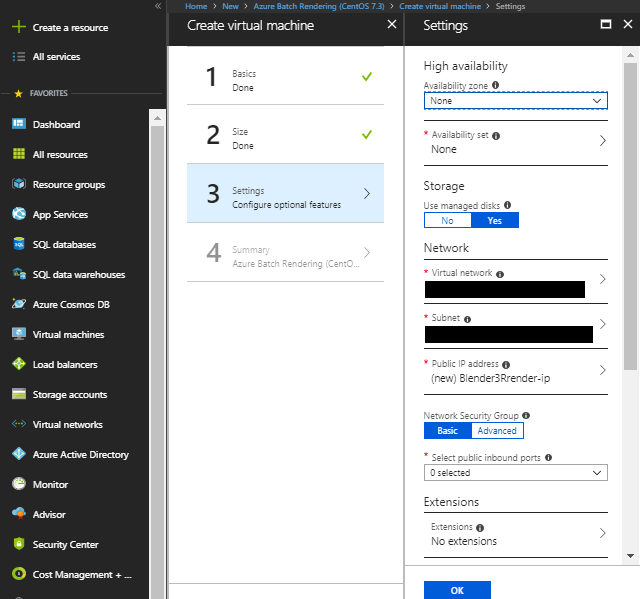
I try to use a free account with $200 credit but the Azure Microsoft come with this note:
You cannot use your Azure monetary commitment funds or subscription credits ...