I used in the past javascript with react and vite, but today I tested two web tools: bold and netlify - both online tools.
The first issue on bold was to use an repo from my secondary GitHub account catafest-work because on bolt account was set catafest.
I asked on discord and answer was simple one:
Use this in the URL area:
bolt.new/github.com/username/reponameI used easy , works and bold make the default project with react and vite. I set the Gemini API key!
I ask to create a simple grapphic interface and works well.
This works well without any errors.
For deploy an application on web, the bolt give me an answer to netlify ...
I follow that answer and I have a full simple application online, see this website - catafest-gemini-ai.netlify.app.
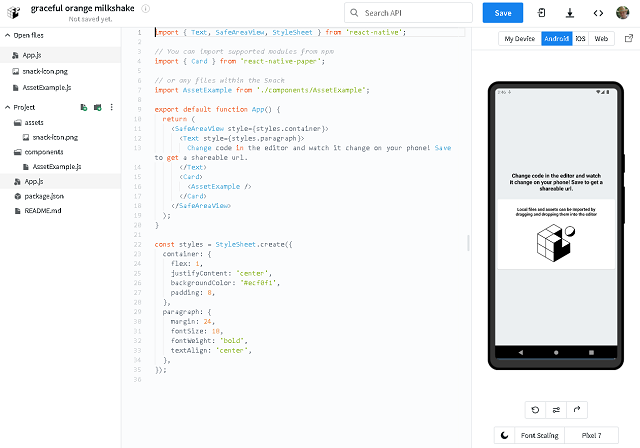
I tested and works. See some screenshots from work area with these online tool: