2D, 3D, game, games, online game, game development, game engine, programming, OpenGL, Open AI, math, graphics, design, graphic, graphics, game development, game engine, programming, web development, web art, web graphic, arts, tutorial, tutorials,
Se afișează postările cu eticheta shader. Afișați toate postările
Se afișează postările cu eticheta shader. Afișați toate postările
joi, 27 noiembrie 2025
Shadertoy: A Christmas tree - 2025
Posted by
Cătălin George Feștilă
 Labels:
2025,
online,
online tool,
shader,
shadertoy,
web,
web development,
website
marți, 11 noiembrie 2025
News : ShaderBoy with google access ... bad or not?
In the web area, all sorts of propagated coincidences and implementations have started to appear. Here is a website that allows you to work with shaders and offers Google access functionality.
Because there are ongoing discussions about global security solutions and some security software developers have newer business implementations... I maintain my opinion that accessing a website with Google access, without knowing what access you are granting, for example: your photos, blogs, documents, is not a very good idea. Managing a large flow of Google accesses on a single account is difficult, which is why, in the case of hacking, using a traditional password will compromise only a single account.
Customizing access through Google, any other quirky ideas, and all kinds of duplicated accounts lead to rejections and blocks in web consumer psychology.
If you press no, then you are sure is works good ? https://shaderboy.net/app/.

sâmbătă, 7 iunie 2025
News : twigl.app another shader editor.
twigl.app is an online editor for One tweet shader, with GIF generator, sound shader, and broadcast live coding.
Today I tested this online shader editor , my hardware is not very good and browser is low, but works ...

vineri, 21 februarie 2025
News : SHADERed tool.
SHADERed is a lightweight tool for writing and debugging shaders. It is easy to use, open source, cross-platform (runs on Windows, Linux & Web - HLSL shaders work on all platforms) and frequently updated with new features.
See the official website.
Posted by
Cătălin George Feștilă
 Labels:
2025,
2025 news,
2D,
3D,
news,
online tool,
shader,
shaders,
tool
sâmbătă, 18 ianuarie 2025
Shadertoy : ... shader SpaceX's 7th Starship test by XorDev .
"Starship" by @XorDev
Inspired by the debris from SpaceX's 7th Starship test:
https://x.com/elonmusk/status/1880040599761596689
luni, 9 decembrie 2024
News : Godot 4: Earthquake shader (tutorial)
... another video tutorial about Godot shader feature, by FencerDevLog.
Posted by
Cătălin George Feștilă
 Labels:
2024,
2024 news,
Godot,
news,
shader,
shaders,
video,
video tutorial,
youtube
vineri, 6 decembrie 2024
News : Coding Adventure: Rendering Fluids.
Posted by
Cătălin George Feștilă
 Labels:
2024,
2024 news,
news,
shader,
shaders,
video,
video tutorial,
youtube
duminică, 1 decembrie 2024
Shadertoy: Warp of the West
... the shader of this years from 1 december 2024.
Posted by
Cătălin George Feștilă
 Labels:
2024,
online,
online tool,
shader,
shadertoy,
web,
web development,
website
duminică, 10 noiembrie 2024
Shadertoy: Warp of the West
... see this shader at the official website.
Posted by
Cătălin George Feștilă
 Labels:
2024,
2D,
development,
shader,
shaders,
shadertoy,
web development
duminică, 28 aprilie 2024
News : Real-time height map shadows | HUGE Improvements from BarneyCodes.
A good example with p5js and a video from the BarneyCodes.
Posted by
Cătălin George Feștilă
 Labels:
2024,
2024 news,
news,
p5.js,
shader,
shaders,
video,
video tutorial,
youtube
luni, 25 martie 2024
duminică, 17 martie 2024
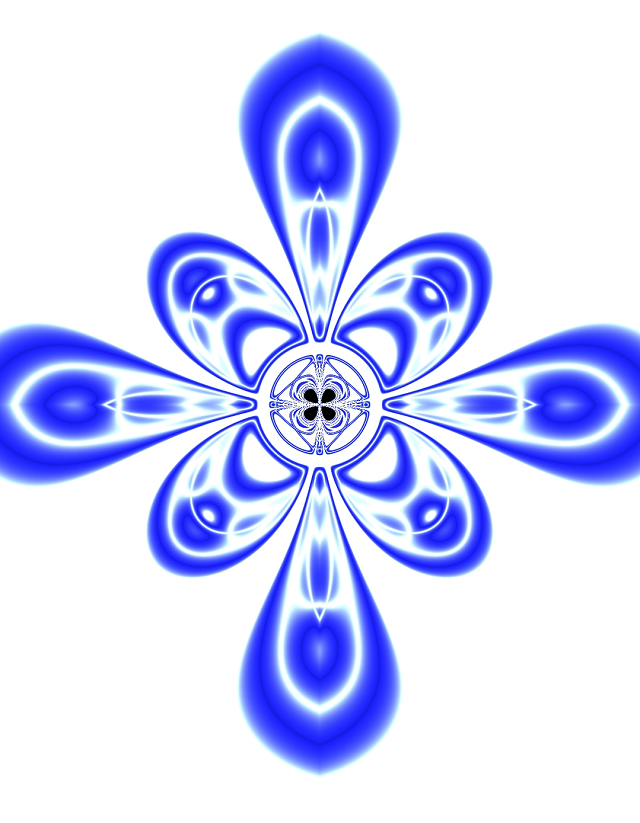
Shader Editor - example 005.
... another shader for Shader Editor:
#ifdef GL_FRAGMENT_PRECISION_HIGH
precision highp float;
#else
precision mediump float;
#endif

uniform vec2 resolution;
uniform float time;
uniform vec4 mouse;
uniform vec4 date;

//#define time  iTime
#define R resolution.xy
void mainImage( out vec4 fragC, in vec2 fC)
{
   vec2 pos = (fC.xy/R.xy) * 8. - 4.;
    pos.x *= R.x / R.y;
    float s = .26, f = 10.0, k = f;
    vec3 p = vec3(pos, sin(time ) * .15)* s;

    for( int i=0; i< 5; i++ )
    {
           p = (abs(p)/dot(p,p) - 1.33);
           k = length(p);

           p = 0.95*s/(p*k-p)*k;
   }
   f = (dot(dot(p,p),0.9*s)/(s/dot(p,p)));
   fragC= vec4(f, f *1.2, f * 9.1, 1.0);;
}

void main() {
vec4 fragment_color;
mainImage(fragment_color, gl_FragCoord.xy);
gl_FragColor = fragment_color;
}
vineri, 15 martie 2024
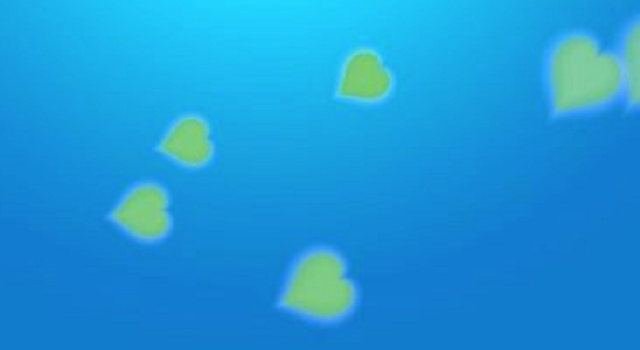
Shader Editor - example 004.
This is not 100% my shader, I found an example on the web and adapted it for March. It is quite optimized and can be further optimized. I did it rather quickly because I can't really afford to use up my time and resources without having a financial or health-related gain. You can turn it into wallpaper with the ShaderToy Android application.
#ifdef GL_FRAGMENT_PRECISION_HIGH
precision highp float;
#else
precision mediump float;
#endif

#define _ParticlesAmount 10
uniform vec2 resolution;
uniform float time;
float rnd(float x)
{
    return fract(sin(dot(vec2(x + 47.49,38.2467 / (x + 2.3)), vec2(12.9898, 78.233))) * (43758.5453));
}

float draw_leaf(vec2 uv, float scale, float d) {
    float ret;
    vec2 root = uv - vec2(1.0, scale);
    float r = length(root) / scale;
    float t = abs(atan(root.x, root.y) / 3.1415);
    float edge = (3.0 * t - 8.0 * t*t*t*t + 6.0 * t*t*t*t*t) / (4.0 - 3.0 * t);
    ret = smoothstep(edge - d, edge + d, r);
    return ret;
}

mat2 rotate(float t) {
    return mat2(cos(t), -sin(t), sin(t), cos(t));
}

float drawClover(vec2 uv, float scale, float d) {
    float ret = draw_leaf(uv, scale, d);
    uv = rotate(2.0) * uv;
    ret *= draw_leaf(uv, scale, d);
    return 1.0 - ret;
}

vec4 alphaBlend(vec4 base, vec4 blend)
{
    return vec4(base.rgb * base.a * (1.0 - blend.a) + blend.rgb * blend.a, blend.a + base.a * (1.0 - blend.a));
}
// conversion from a web shadertoy
//void mainImage( out vec4 fragColor, in vec2 fragCoord )

void main() {
{
    vec2 uv = (2.0 * gl_FragCoord.xy - resolution.xy) / min(resolution.x, resolution.y);
    float t = smoothstep(1.5, 0.0, length(uv));
    gl_FragColor = vec4(t * vec3(1, 0.8784, 0.9333) + (1.0 - t) * vec3(0.9568, 0.7451, 0.8118), 1.0);
    float j;
    float move_max = 1.0;
    vec2 spawn_center = vec2(0.0, 0.0);
    float spawn_length = 0.5;
    float _ParticlesAmount_f = float(_ParticlesAmount);
    for (int i = 1; i < _ParticlesAmount; i++)
    {
        j = float(i);
        float rnd1 = rnd(cos(j));
        float delayedTime = (0.2 + 0.2 * rnd1) * time;
        float d = floor(delayedTime / move_max);
        float rnd2 = rnd(j * d);
        float rnd3 = rnd(j * j * d);
        float r = delayedTime / move_max - d;
        float x_wave = 0.15 * sin(delayedTime * 7.0 + 6.282 / j);
        vec2 spawn = vec2(0.0, rnd3 * spawn_length);
        float ease = pow(2.0, 5.0 * (r - 1.0));
        float y_move = move_max * ease;
        float opacity = 1.0 - ease - pow(2.0, -30.0 * r);
        float scale = 1.0 - 0.65 * rnd1 + 0.15 * sin(1.8 * time * j / _ParticlesAmount_f + 6.282 / j);
        float rot_wave = 2.0 * sin(delayedTime * 3.0 * j / _ParticlesAmount_f * 2.0 + 6.282 / j);
        vec2 center = rotate(rot_wave) * (rotate(6.282 * rnd2) * (uv + spawn_center) + spawn + vec2(x_wave, y_move)) * scale;
        vec3 cloverColor = vec3(0.3 + 0.3 * rnd2, 0.98, 0.3) * (1.0 - 0.3 * rnd3);
        vec3 cloverCenterColor = cloverColor + (vec3(1.0) - cloverColor) * 0.5;
        vec3 cloverBgColor = vec3(1.0, 0.98, 0.7);
        gl_FragColor = alphaBlend(gl_FragColor, vec4(cloverBgColor, opacity * drawClover(center, 0.1, 0.3)));
        gl_FragColor = alphaBlend(gl_FragColor, vec4(cloverColor, opacity * drawClover(center, 0.1, 0.01)));
        gl_FragColor = alphaBlend(gl_FragColor, vec4(cloverCenterColor, opacity * drawClover(center, 0.05, 0.3)));
    }
 }
} duminică, 25 februarie 2024
Victor Lopez - online tool !
Online tool for graphics ... https://victhorlopez.github.io/editor/.
Prototype Node Based Shader Editor in WebGL to edit and create materials interactively with nodes, where you can drag and drop textures and use multiple features similar to other editors.

Posted by
Cătălin George Feștilă
 Labels:
2024,
2D,
3D,
design,
graphics,
online tool,
shader,
shaders,
tool
joi, 15 februarie 2024
Shader Editor - example 005.
Today I posted on my instagram three shaders created to be used as phone wallpapers using the Shader Editor Android software option.
Somewhere in my posts I specified that this android application allows you to create shaders and then you can add them as dynamic wallpaper on phone.
The three source codes are open-source and you can test and use them with the android application and they will run very well as wallpapers:
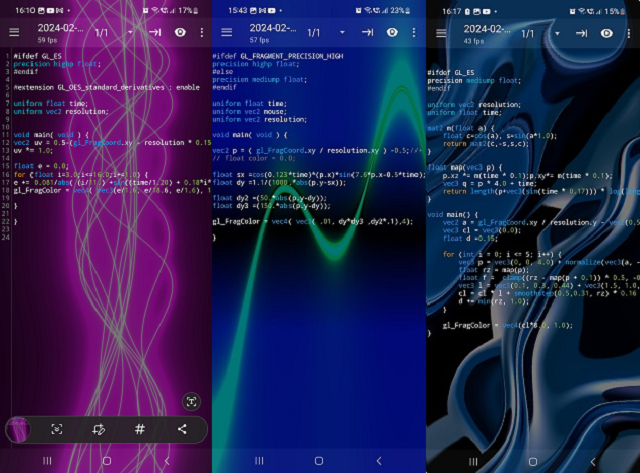
This is a shader that I like as a design because it is relaxing and I put a more feminine color because spring is coming.
#ifdef GL_ES
precision highp float;
#endif

#extension GL_OES_standard_derivatives : enable

uniform float time;
uniform vec2 resolution;


void main( void ) {
vec2 uv = 0.5-(gl_FragCoord.xy - resolution * 0.15) / max(resolution.x, resolution.y) * 5.0;
uv *= 1.0;

float e = 0.0;
for (float i=3.0;i<=16.0;i+=1.0) {
e += 0.081/abs( (i/11.) +sin((time/1.20) + 0.18*i*(uv.y) *( cos(i/2.10 + (time / 11.0) - uv.y*.4) ) ) + 2.5*uv.x);
gl_FragColor = vec4( vec3(e/1.6, e/18.6, e/1.6), 1.0);

}

}
This is a dynamic sin cos combination
#ifdef GL_FRAGMENT_PRECISION_HIGH
precision highp float;
#else
precision mediump float;
#endif

uniform float time;
uniform vec2 mouse;
uniform vec2 resolution;

void main( void ) {

vec2 p = ( gl_FragCoord.xy / resolution.xy ) -0.5;//+ mouse / 4.0;
// float color = 0.0;

float sx =cos(0.123*time)*(p.x)*sin(7.6*p.x-0.5*time);
float dy =1.1/(1000.*abs(p.y-sx));

float dy2 =(50.*abs(p.y-dy));
float dy3 =(150.*abs(p.y-dy));

gl_FragColor = vec4( vec3( .01, dy*dy3 ,dy2*.1),4);

}
This shader has a darker style:
#ifdef GL_ES
precision mediump float;
#endif

uniform vec2 resolution;
uniform float time;

mat2 m(float a) {
    float c=cos(a), s=sin(a*1.0);
    return mat2(c,-s,s,c);
}

float map(vec3 p) {
    p.xz *= m(time * 0.1);p.xy*= m(time * 0.1);
    vec3 q = p * 4.0 + time;
    return length(p+vec3(sin(time * 0.17))) * log(length(p) + 0.10) + sin(q.x + sin(q.z + sin(q.y))) * 1.8;
}

void main() {
    vec2 a = gl_FragCoord.xy / resolution.y - vec2(0.5, 0.5);
    vec3 cl = vec3(0.0);
    float d =0.15;

    for (int i = 0; i <= 5; i++) {
        vec3 p = vec3(0, 0, 4.0) + normalize(vec3(a, -1.0)) * d;
        float rz = map(p);
        float f = clamp((rz - map(p + 0.1)) * 0.5, -0.1, 1.0);
        vec3 l = vec3(0.1, 0.3, 0.44) + vec3(1.5, 1.0, 1.0) * f;
        cl = cl * l + smoothstep(0.5,0.31, rz) * 0.16 * l;
        d += min(rz, 1.0);
    }

    gl_FragColor = vec4(cl*8.0, 1.0);
}
Posted by
Cătălin George Feștilă
 Labels:
2024,
3D,
3d software,
android,
shader,
Shader Editor,
tutorial,
tutorials
marți, 23 ianuarie 2024
News : From Shadertoy to Godot 4: Learn to convert the shader code (tutorial) !
... this is not current news, but it is informative and, you can see more on youtube channel named FencerDevLog.
luni, 15 ianuarie 2024
News : Shaderfrog online tool new updates.
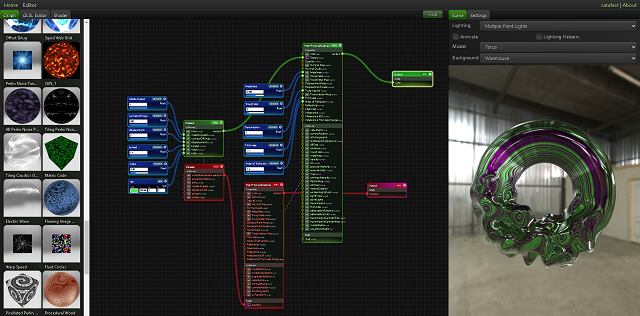
This tool can help you edit online and you can see the differences of shader and glsl type source code and now it comes with news.
I also presented this tool last year in April, it is quite old as an online tool.
The author of this online tool tells us:
Hi, my name is Andy. Almost 8 years ago, I created a tool called Shaderfrog. Shaderfrog is a Three.js shader editor and ‟composer.” Shaderfrog lets you author shader GLSL in nodes, and then combine them together using a graph editor.
See this online screenshot:
Posted by
Cătălin George Feștilă
 Labels:
2024,
2024 news,
glsl,
news,
online,
online tool,
shader,
shaders
luni, 2 octombrie 2023
News : New shaders for my game.
As you know, I had some problems with Unity 3D and the game project North. The reason was the non-activation of the Windows OS operating system and some network problems. That's how we continued from the beginning with the Godot game engine that switched to the C# language. At this moment I worked on some shaders. The new version I'm working on is 4.1.2 and it's still not very well documented for the custom implementation of Godot shaders with gdshader type files.
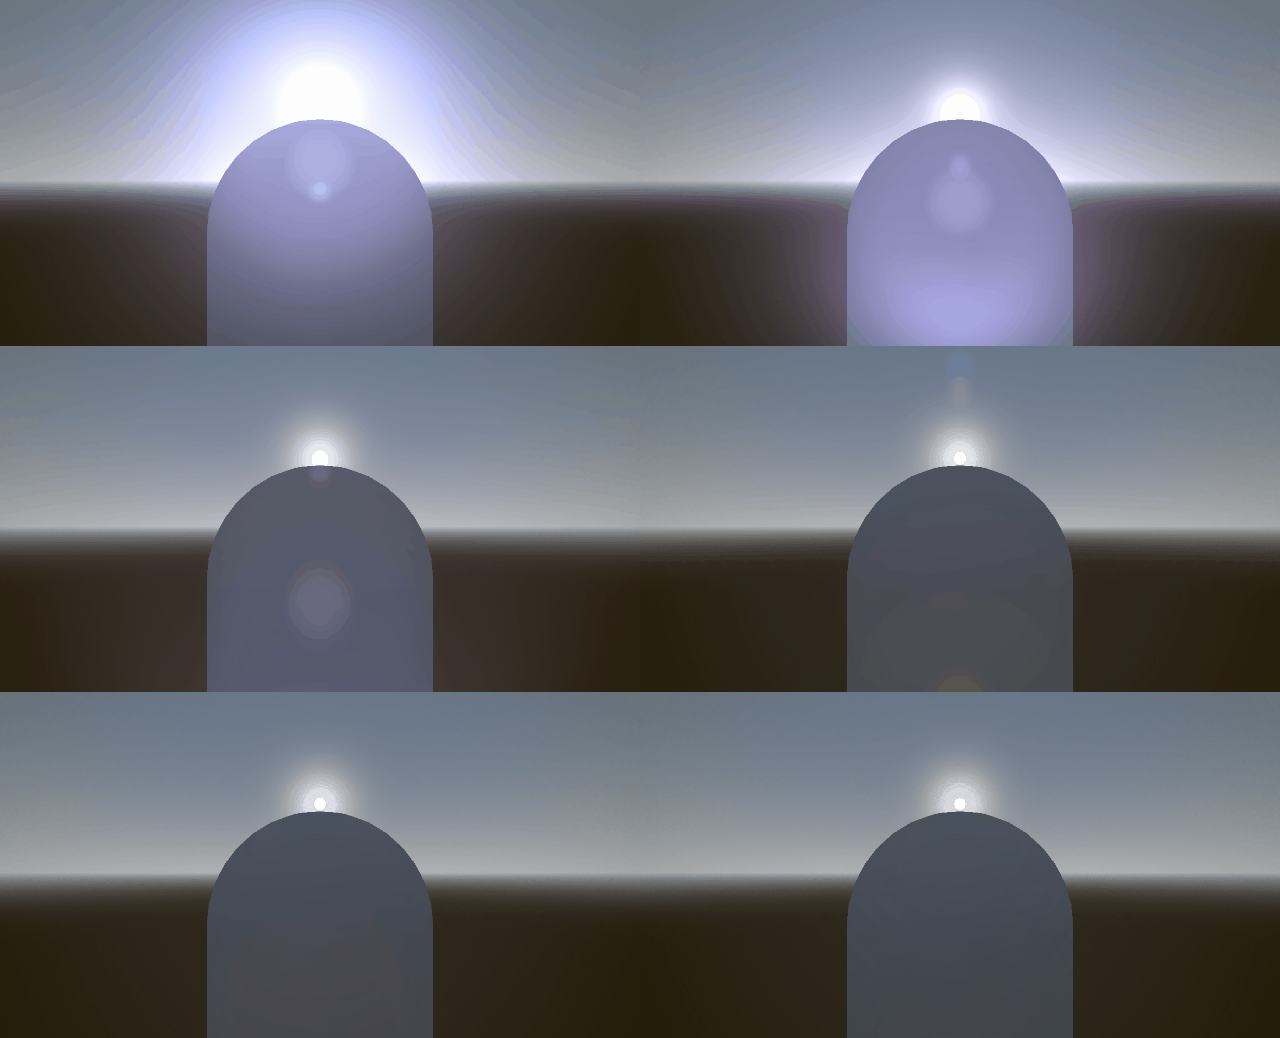
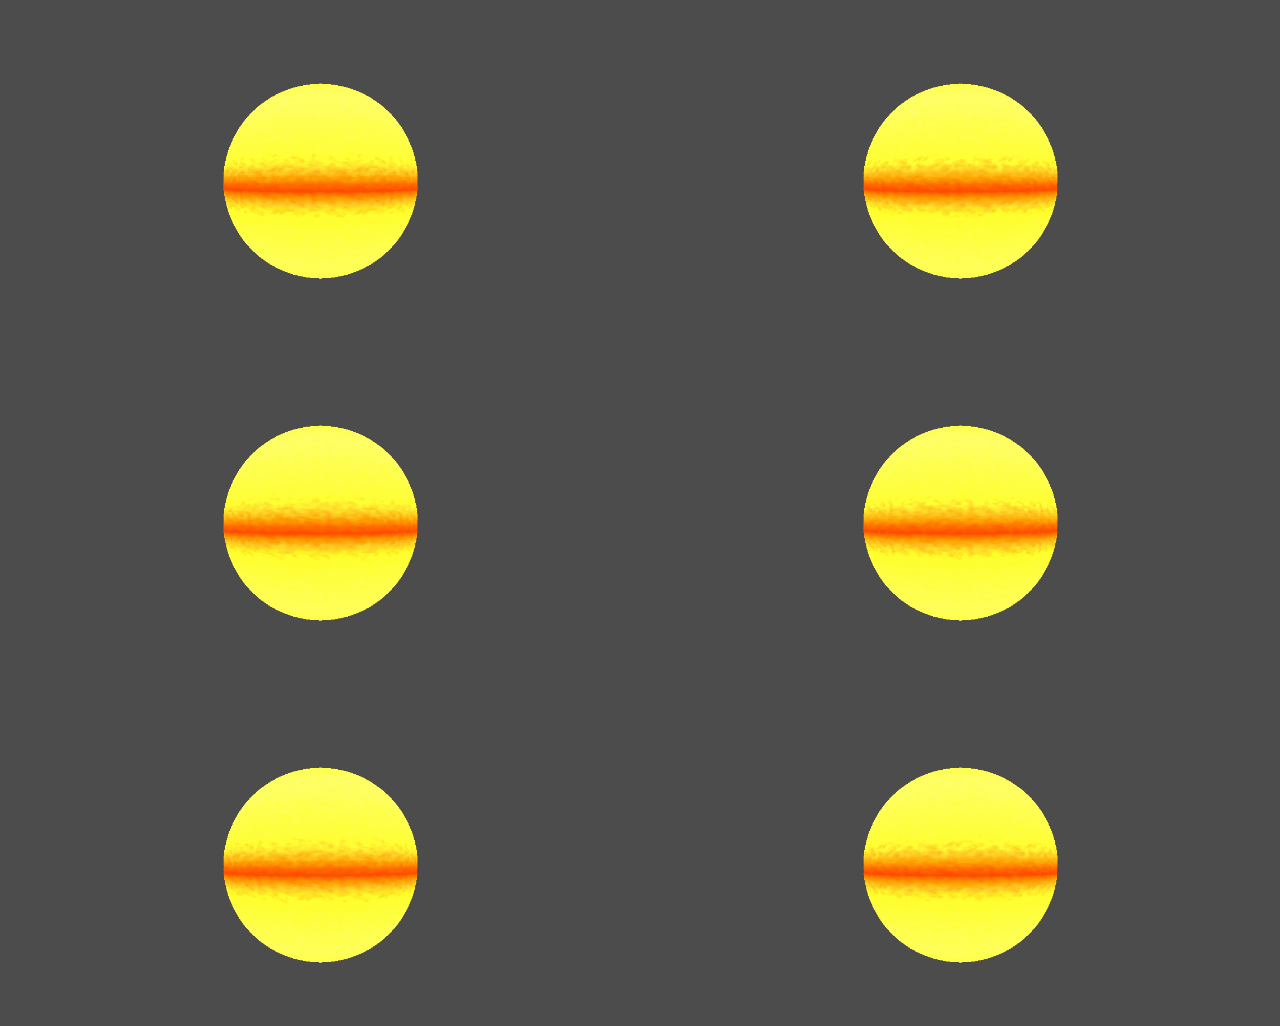
Here are some new examples:
Halo sun shader
Smoke sphere shader
Basic fire shader

joi, 10 august 2023
Graphics programming - Unity 3D shaders - 005.
If you working with shaders and you get this error
Shader error in '': Parse error: syntax error, unexpected TVAL_IDGo to console area and find where is the line of source code ...
Shader error in '': Parse error: syntax error, unexpected TVAL_ID at line 15In my case was an old defined source code ZWriteoff, after I change it with ZWrite Off the shader is compileted.
miercuri, 9 august 2023
Shader Editor - example 004.
Another example with the Shader Editor android application, this time simpler:
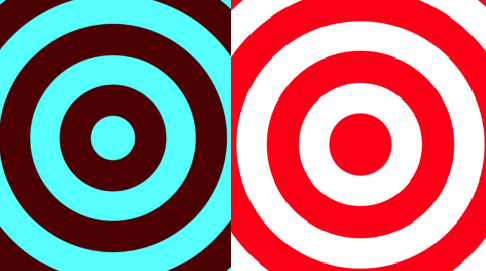
This shader displays some concentric circles that change their colors according to a sine and cosine formula.
This is the source code for the shader:
#ifdef GL_FRAGMENT_PRECISION_HIGH
precision highp float;
#else
precision mediump float;
#endif

uniform vec2 resolution;
uniform float time;

void main(void) {
 float mx = max(resolution.x, resolution.y);
 vec2 uv = gl_FragCoord.xy / mx;
 vec2 center = resolution / mx * 0.5;
 float t = time * 10.0;

 gl_FragColor = vec4(cos(t+distance(uv, center) / 222.0)+1.0,
  vec2(sin(t - distance(uv, center) * 76.0)) * 10.5,
  1.0);
}
Posted by
Cătălin George Feștilă
 Labels:
2023,
3D,
3d software,
android,
shader,
Shader Editor,
tutorial,
tutorials
Abonați-vă la:
Comentarii (Atom)